|
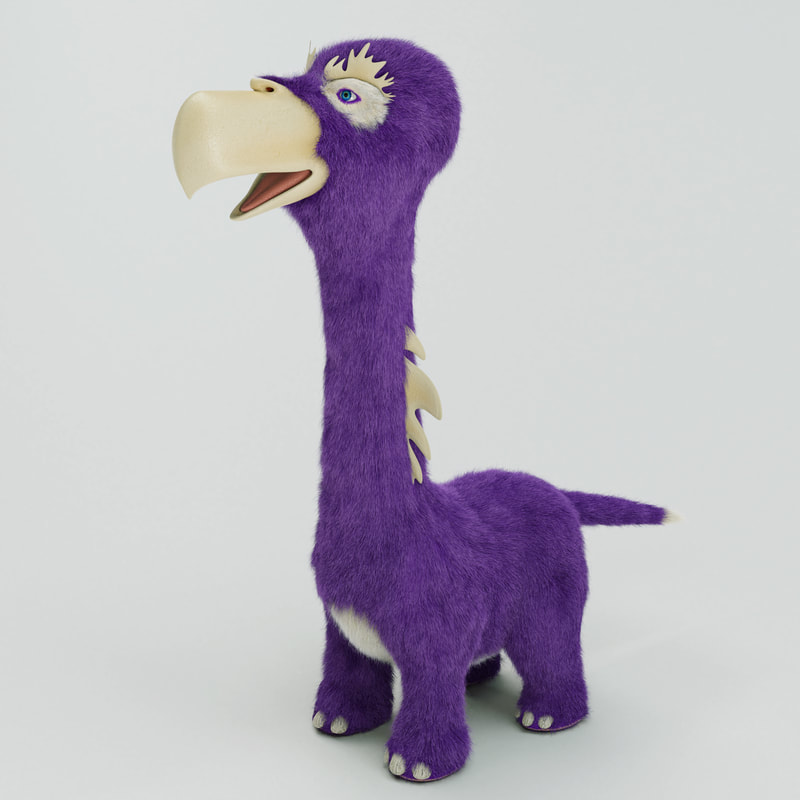
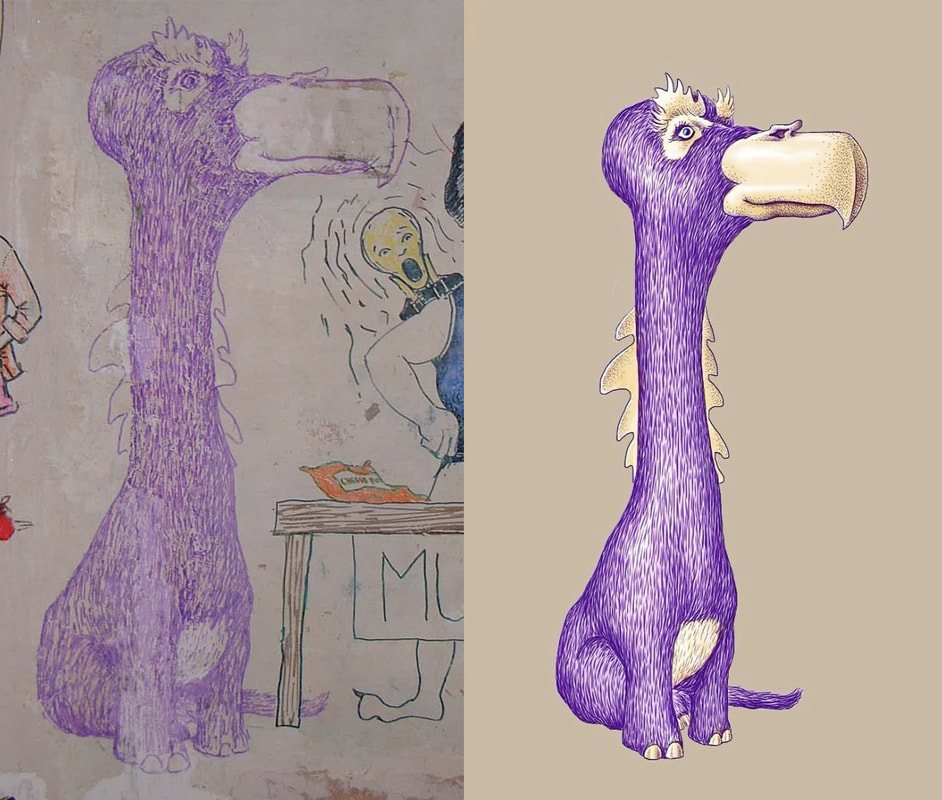
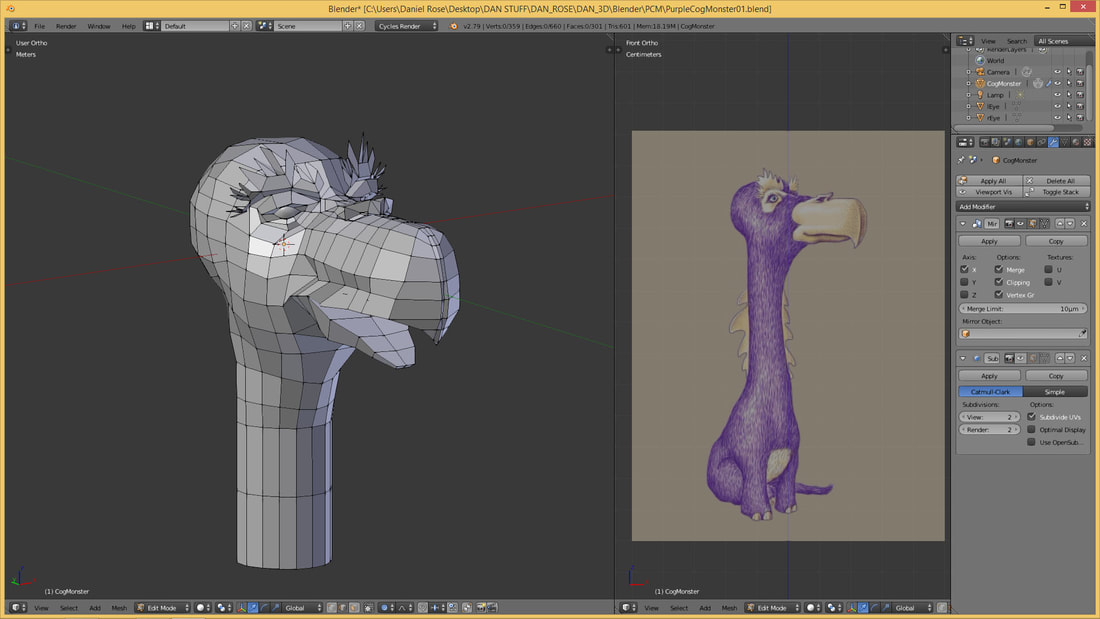
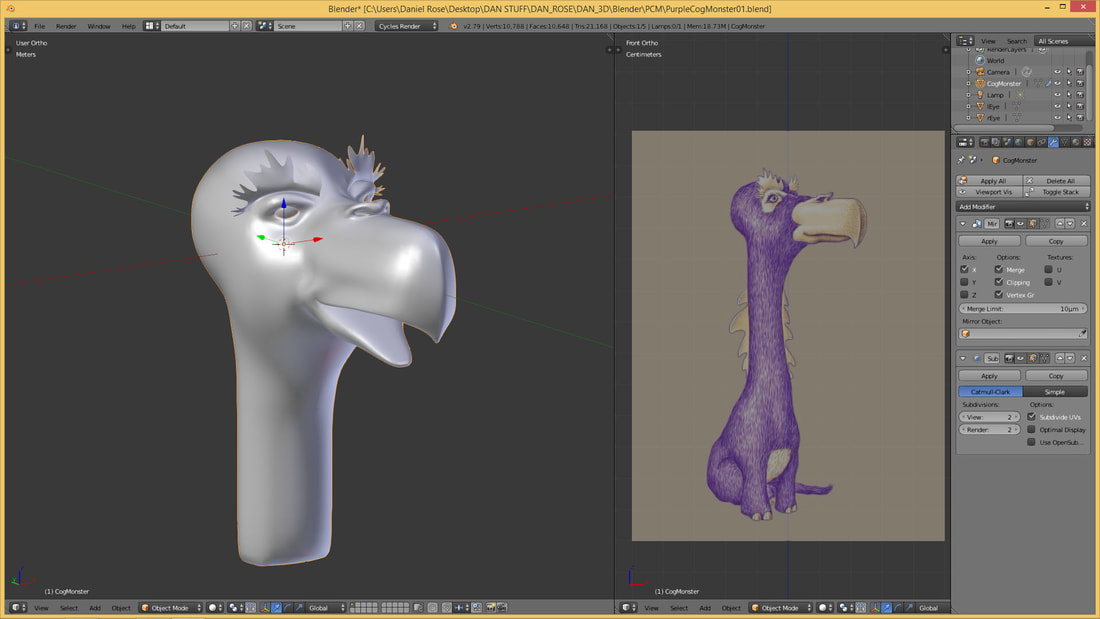
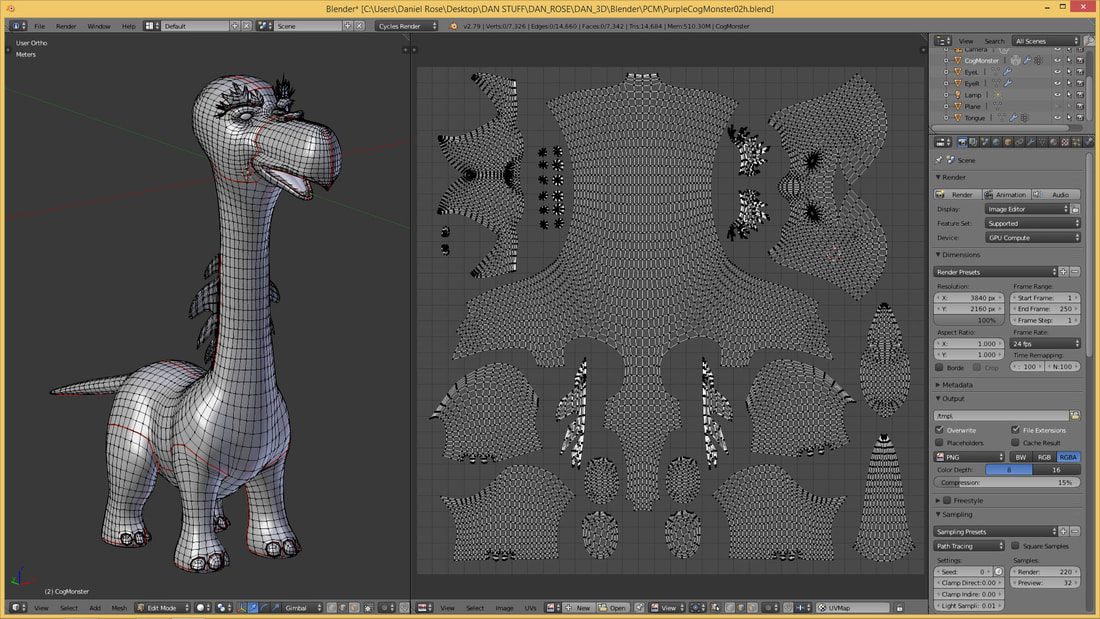
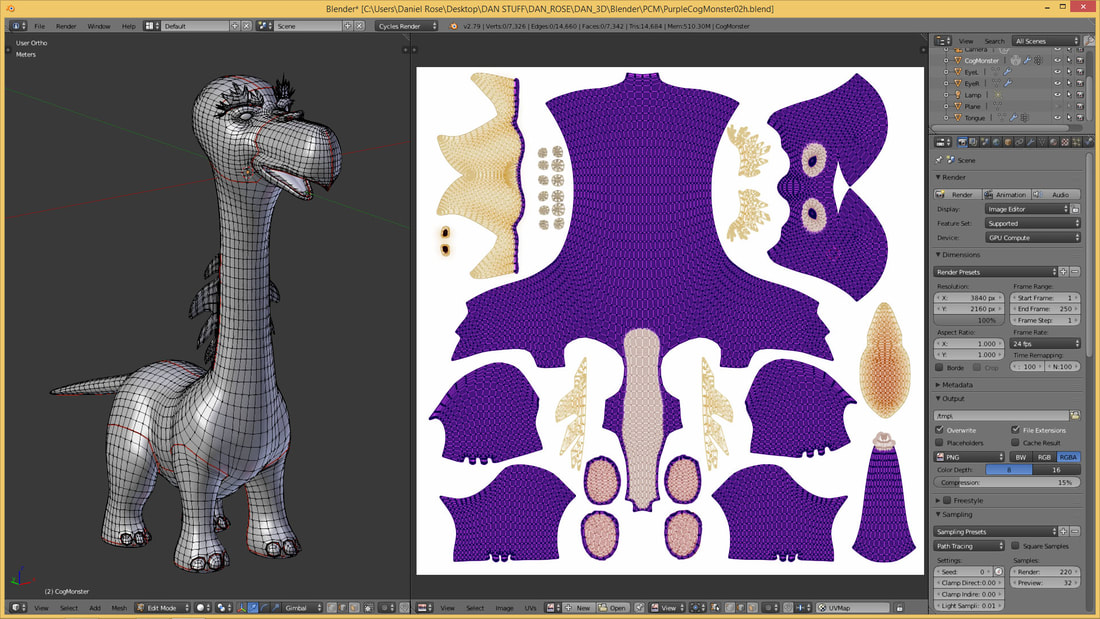
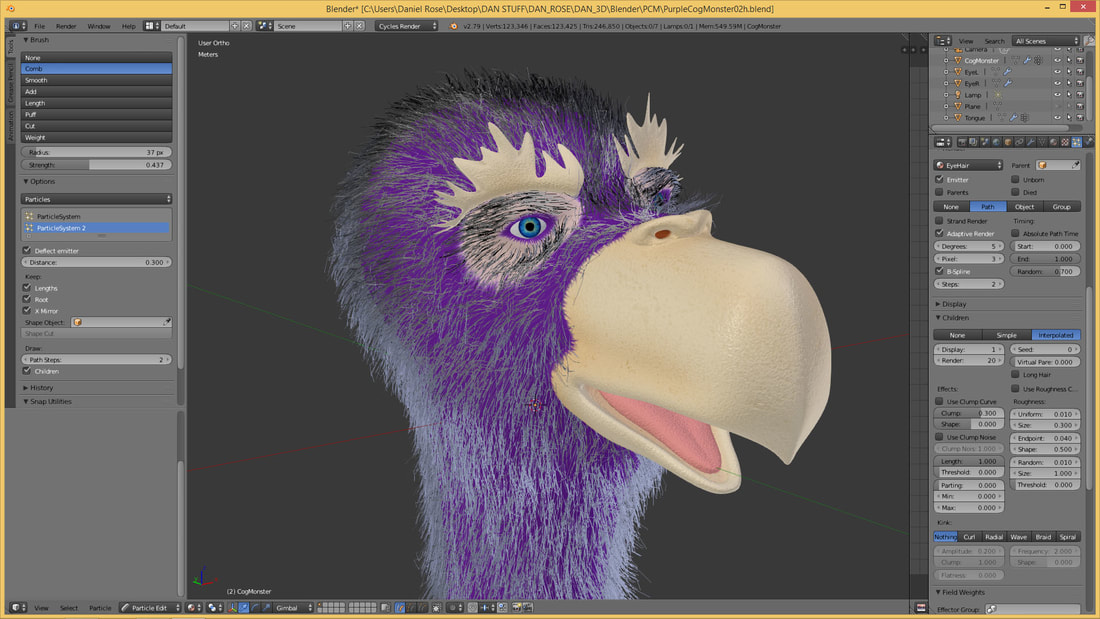
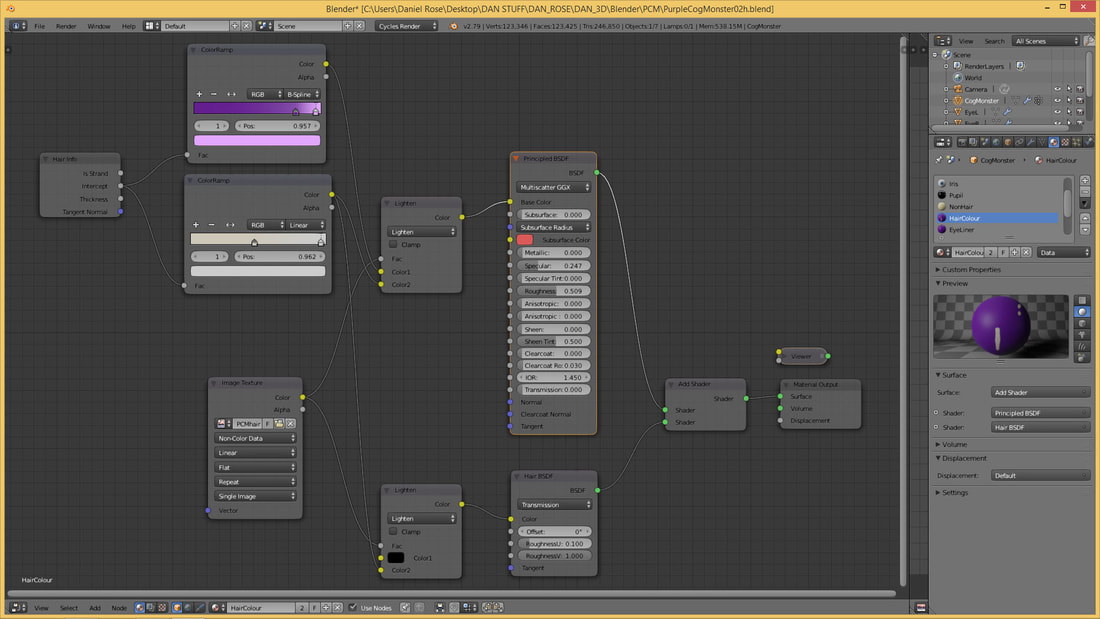
As part of my ongoing transition to Blender for my 3D modelling and rendering services I've been busy creating a little character called the Purple Cog Monster. He's the mascot for my partners company PCMcreative. I've just completed the modelling and texturing phase, but eventually he'll be animated. Computer 3D (like most other art forms) is a never-ending learning process. There are so many areas of specialism in computer 3D that any given individual can only dream of mastering them all. There are experts in modelling, UV unwrapping and texturing, materials creation, lighting and rendering. Specialisms include character creation, environment design, dynamic simulation, particle systems and physics, rigging for animation - it's endless. Then there's 3D for image rendering, for animation, games and virtual reality, for augmented reality. Each has it's own complexities and work-flows. I'm humbled every day as I learn something new. Somewhere in England there is a wall in a house... It was a party of sorts, hosted by my sister more years ago than I care to remember, just prior to a major re-decoration of the house she lived in at the time. 'Just draw or write what you like, have fun'. So we did, and by the end of the evening the walls were covered from floor to ceiling with everything from poetry to satirical and surreal drawings - it was here that the Purple Cog Monster was born. My partner sort of fell in love with him, gave him his name and gradually adopted him as mascot for her business. He's been with us ever since. Some Years Later... I'd done a few drawings of the PCM over the years, and even attempted a 3D version in Poser 3D (character creation software) which faltered at an early stage. It was only recently as I was getting fully into Blender that I decided to do the job properly. Modelling The Image above shows the early stages of modelling the PCM. It's probably the most important process to get right as just about everything that follows interacts with the mesh you create in some way or another - how light will reveal its form, how difficult it will be to texture and rig for animation etc. I tried for a fairly low-poly figure mesh (useful for lowering render times and easing other aspects of the creation process). I also decided not to be too rigid in my approach to interpreting the initial character references - I wanted to create perhaps a more 'cute' version than the original. Subdivision Surface, a modifier added to increase the complexity of base geometry without destroying the simpler mesh, helps smooth and refine its form. I took my time over the modelling process, taking about 2 days to create and refine the shapes until I arrived at the mesh in the images below. UV Mapping Then I moved onto UV mapping the model. UV mapping is the process of 'unwrapping' the model in order to apply the flat image textures that would help give him his colouration and some extra detail. You have to think of this process as if you were a tailor preparing shapes of material to 'clothe' the model in colour Texturing Once unwrapped you can export the flattened shapes to be used as guides to paint the colour in an image editor. This is a complex process in itself, which can also be done in the 3D software directly onto the model in the viewport. But in this instance I did most of the work in Photoshop as there were very few areas where detail would cross the seams of the UV shapes and so would not be visible when applied to the model. Hair I knew early on that I wanted to use Blenders hair tools to give the PCM a proper pelt of simulated fur that had dimension. You can use image textures to give the surface of a 3D model the appearance of having hair, but it always has a somewhat flat look. In Blender hair is simulated by using Particle Systems, modifiers that distribute simple geometry or effects over the base mesh. I'd used a very similar (but simpler system) in Poser 3D but it used to take an incredibly long time to render and styling the hair was next to impossible. By contrast Blender hair can be optimised to render very quickly (useful when rendering hundreds of frames for an animation) and styling is really very simple. You can comb hairs to flow in the directions you choose, lengthen or cut the strands and even run dynamic simulations with real-world physics parameters. The settings available are frightening. I spent a good few days getting the look I really wanted (I wanted a slightly matted carpet in appearance), re-styling and test rendering many iterations to see how it all worked. Materials Blenders Cycles rendering engine, the power-house behind getting a good image of your 3D models and scenes, uses a node-based materials system. All manner of dialogue boxes that define various aspects of the way you want your materials to look all joined together with spaghetti.
There are basic parameters for defining simple attributes like colour and how shiny a surface is, inputs for using texture maps, specific nodes for hair. Then there are mathematical nodes that modify and combine other inputs together to arrive at the final material that the render engine uses to interact with scene lights and camera values & movements. The complexity is dizzying. The material you see here was for the hair, and it's actually a very simple set-up. I've seen node set-ups that scroll across several pages with scores of nodes. But there's more to do... So that's where I am at the time of writing this post. I have a UVmapped 3D model with hair and materials applied that renders...not too badly. But I intend for the PCM to be animated, and that means I have to enter the realm of rigging him to be able to walk and move his head, blink and open his mouth. And then I have to become an animator. There's a lot to do. Cheers for now, Dan
1 Comment
|
AuthorDaniel Rose is a UK digital creator and artist, working commercially for over 20 years. ArchivesCategories
All
|

 RSS Feed